Administrator: Assign, edit, and remove resources
 Updated
by
Jennifer B.
Updated
by
Jennifer B.
Resources receive notifications when there are changes made to their roles and permissions. To learn more about resources, please visit the About resources help article.
Create, edit, or delete a team resource
Create a team
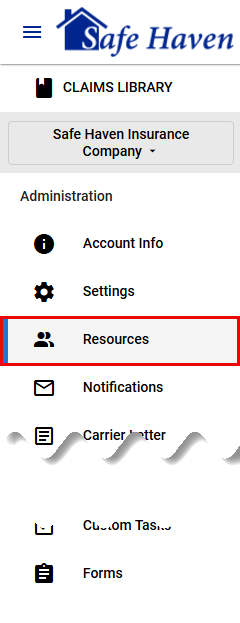
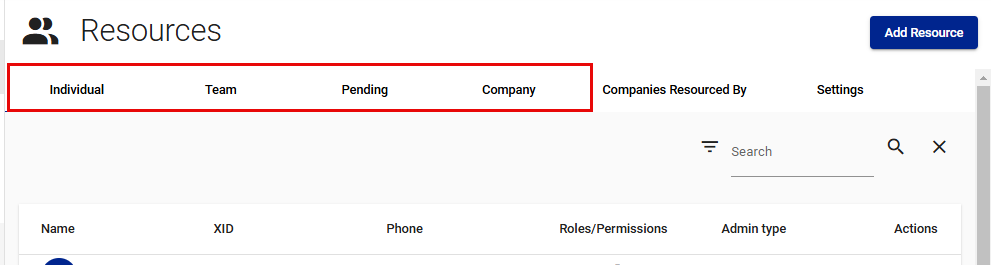
- Select Resources from your side navigation menu.

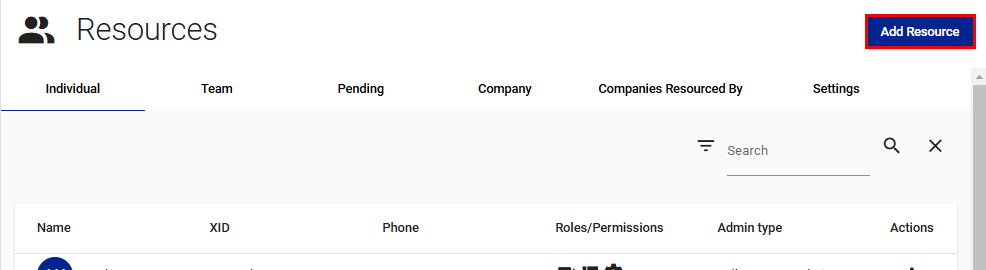
- Select Add resource. This opens the Add resource drawer.
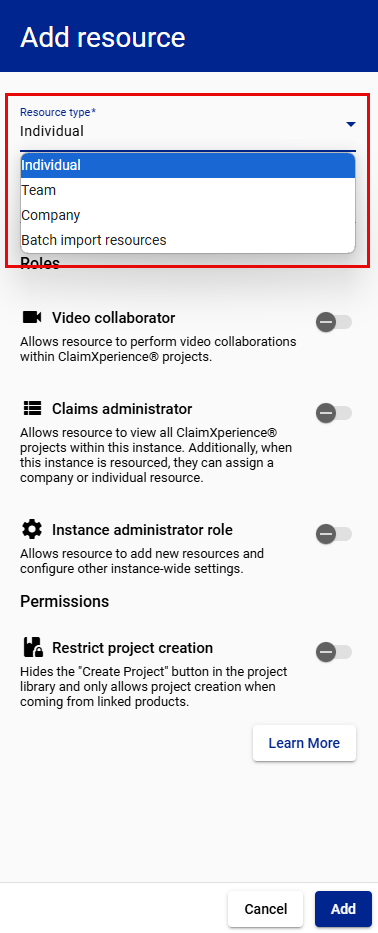
- Open the Resource type dropdown menu using the down-pointing caret.
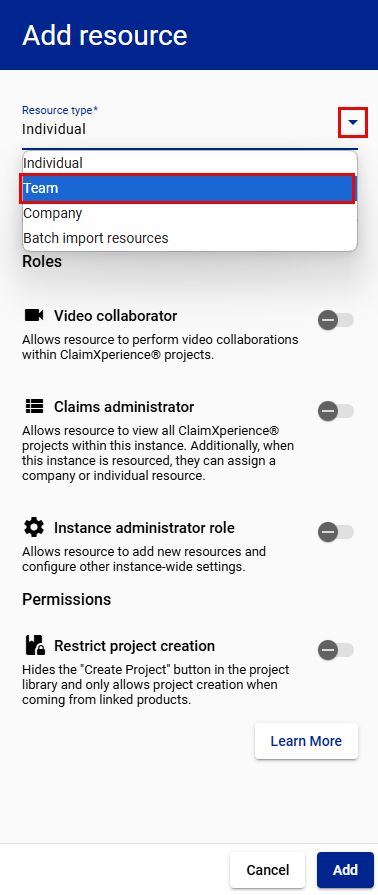
- Select Team.
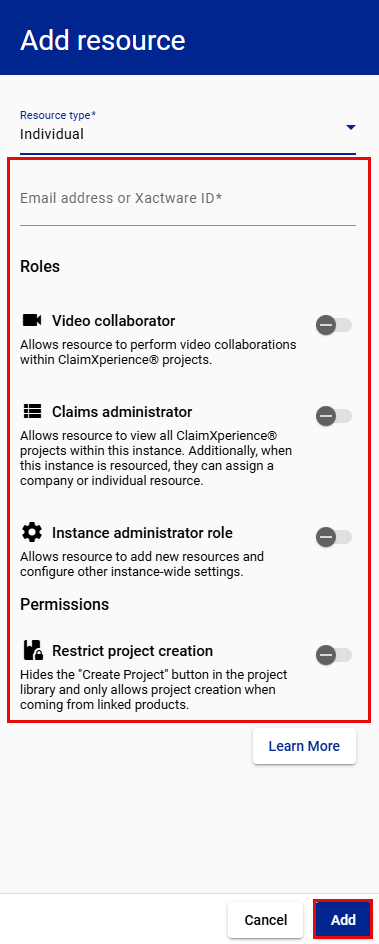
- Enter and select information for the team. Required information is marked with an asterisk (*).
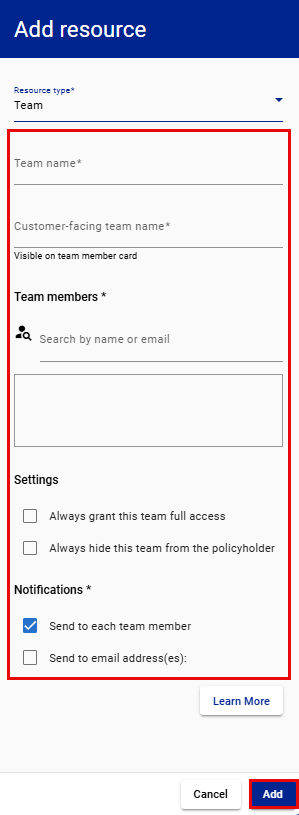
- Select Add.
Edit a team
Option 1
- Select Resources from your side navigation menu.
- Select the Team tab.

- Use the vertical ellipsis to open the Actions menu for the team you want to edit.
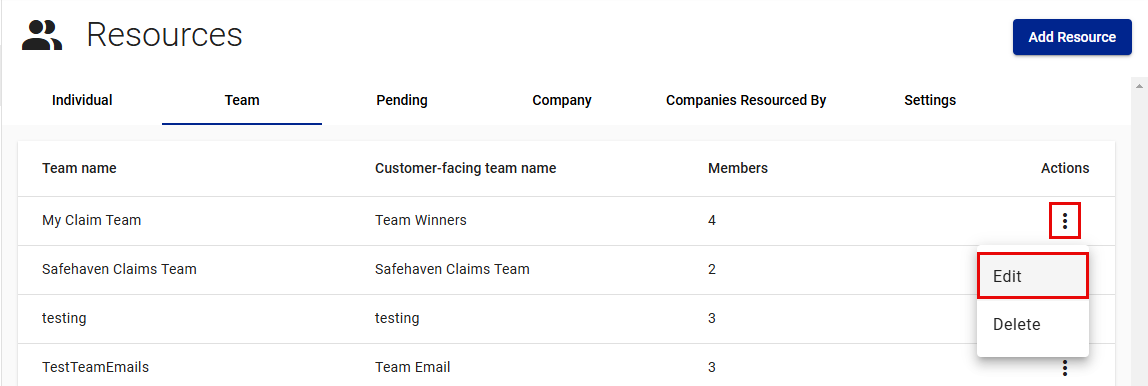
- Select Edit. This opens the Edit resource drawer.
- Edit the team as desired.

- Select Save.
Option 2
- Select Resources from your side navigation menu.

- Select the Team tab.

- Select the team you want to edit. This opens the Edit resource drawer.
- Edit the team as desired.

- Select Save.
Delete a team
- Select Resources from your side navigation menu.

- Select the Team tab.

- Use the vertical ellipsis to open the Actions menu for the team you want to delete.
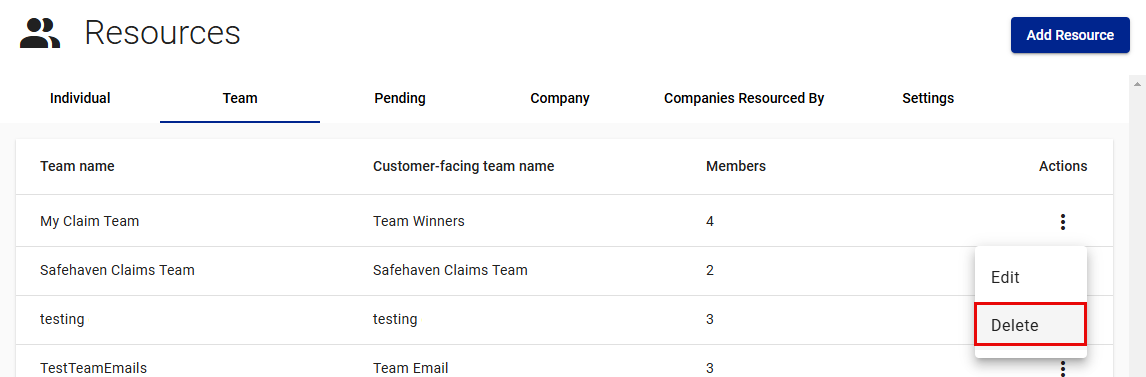
- Select Delete.
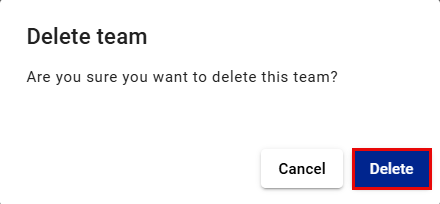
- Select Delete in the Delete team dialog.
If the team you are removing is the primary contact for one or more projects, you must reassign the role of primary contact before you can remove the team.
Create, edit, or delete a custom administrator role
Create a new administrator role
- Select Resources from your side navigation menu.

- Select the Settings tab.
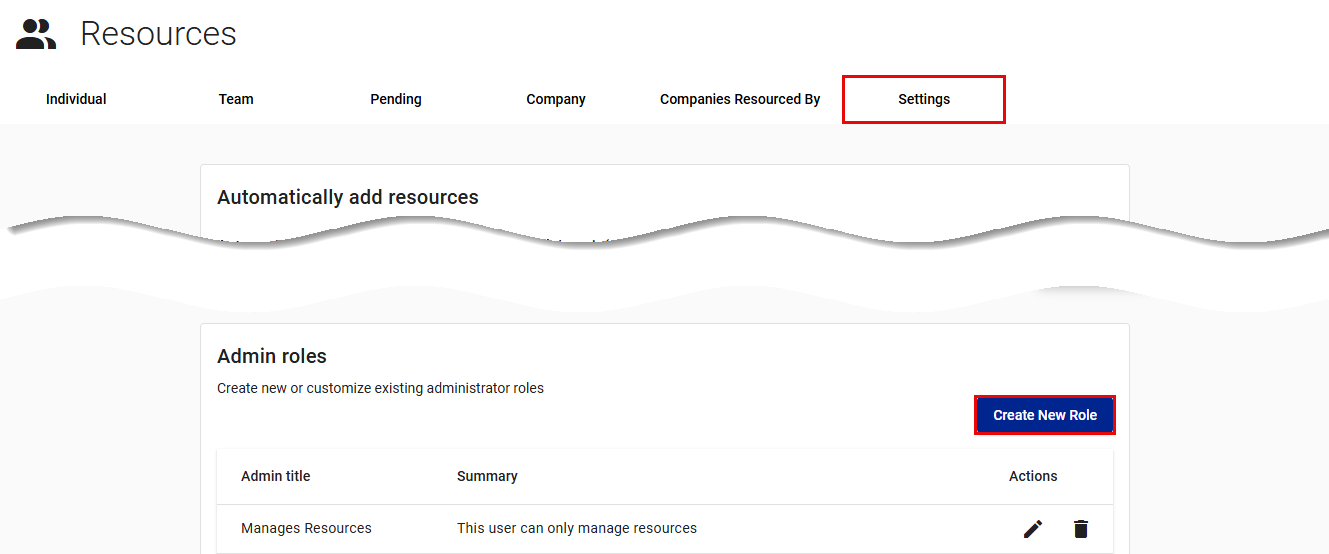
- Select Create New Role in the Admin roles card. This opens the Create new role drawer.
- Enter the name of the role you are creating.
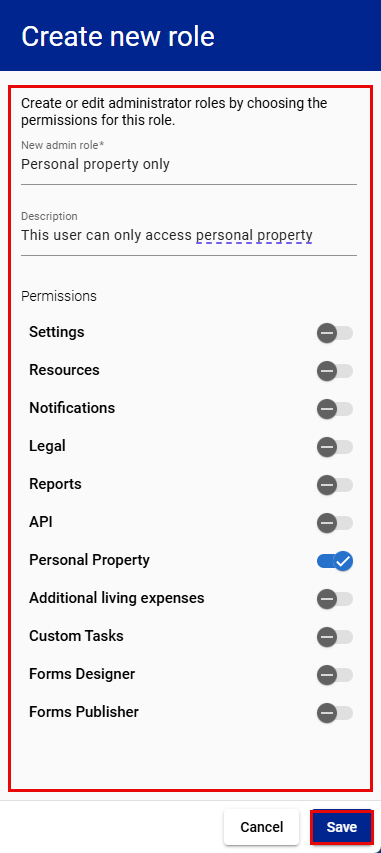
- Enter a description.
- Switch on the toggles for the permissions you want to assign this role.
- Select Save.
Edit an administrator role
- Select Resources from your side navigation menu.

- Select the Settings tab.
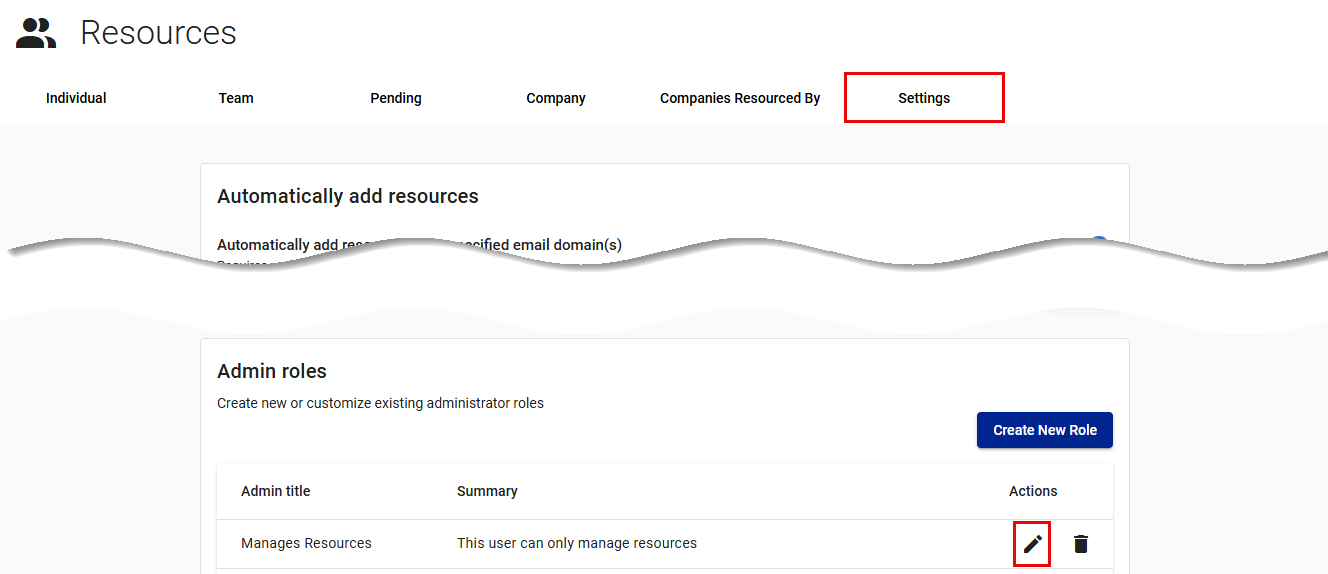
- In the Admin roles card, select the edit icon for the admin role you want to edit.
- Change the title, description, or permissions as needed.
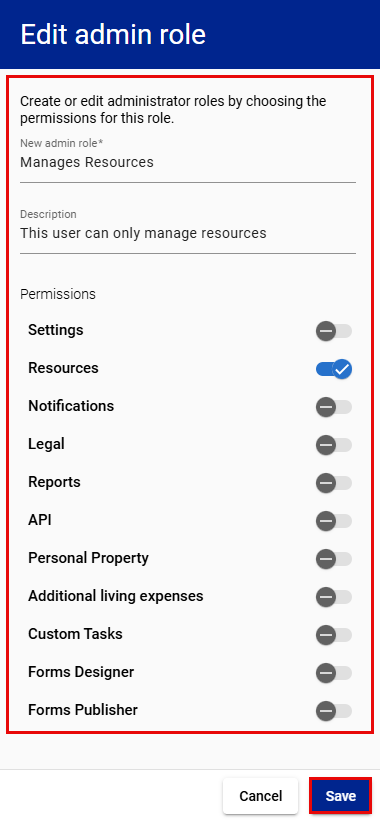
- Select Save.
Delete an administrator role
- Select Resources from your side navigation menu.

- Select the Settings tab.
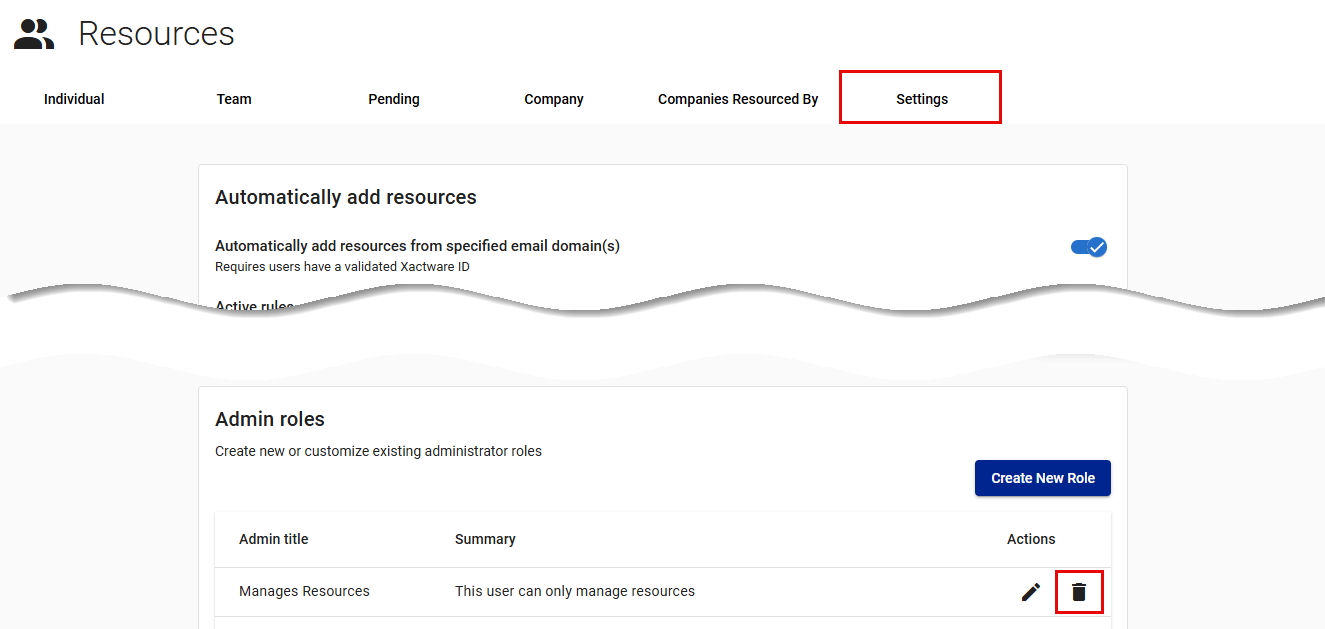
- In the Admin roles card, select the delete icon for the admin role you want to delete.
- Select Confirm in the Delete administrator role dialog.

Assign and edit resource roles (rights)
Assign resource roles (rights)
Option 1
- Select Resources from your side navigation menu.

- Select the tab for the type of resource you want to assign a role.
- Use the vertical ellipsis to open the Actions menu for the resource you want to assign a role.

- Select Edit.
- Select the role or roles you are assigning using the appropriate switches.

- Select the permissions you want to assign to the resource.
- Select Save.
Option 2
- Select Resources from your side navigation menu.

- Select the tab for the type of resource you want to assign a role.

- Select the resource.
- Select the role or roles you are assigning using the appropriate switches.

- Select the permissions you want to assign to the resource.
- Select Save.
Add resources to instances
- Select Resources from your side navigation menu.

- Select Add Resource. This opens the Add resource drawer.

- Select the resource type.
- Enter the information required for the resource type. Different resources may require different types of information.
- Select Add.
Resources receive emails notifying them that they have been invited as a resource, and they must accept the invitation before they are added as team members.
See reources who haven't responded to invitations
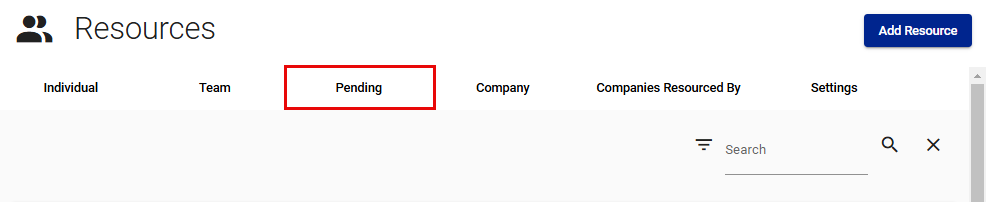
- Select Resources from your side navigation menu.

- Select the Pending tab.
Remove resources
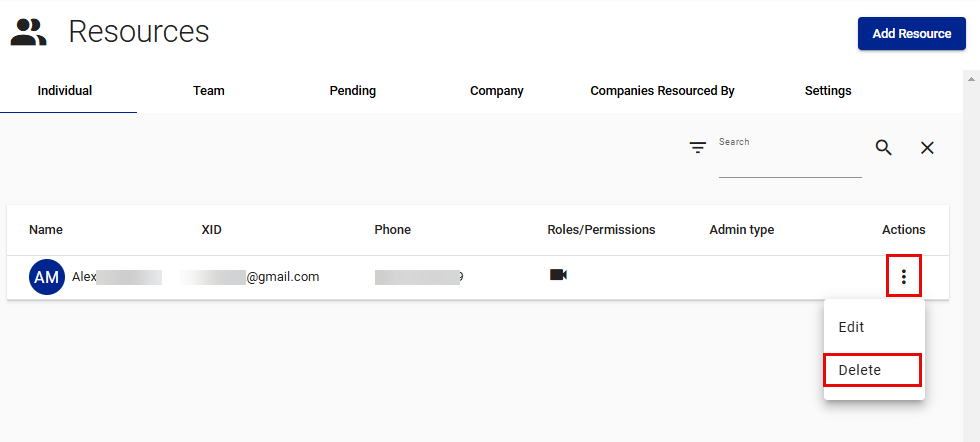
- Select Resources from your side navigation menu.

- Open the dropdown menu on resource's information row by clicking the vertical ellipsis.

- Select Delete.
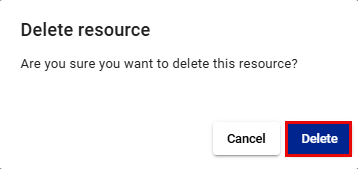
- Confirm you want to delete the resource by selecting Delete in the Delete resource dialog.
If the resource you are removing is the primary contact for one or more projects, you must reassign the role of primary contact before you can remove them.
Reassign and remove a primary contact
- Select Resources from your side navigation menu.

- Open the dropdown menu on resource's information row by clicking the vertical ellipsis.
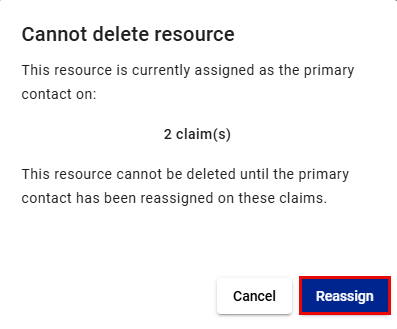
- Select Delete. If the resource is assigned as the role of primary contact, the Cannot delete resource dialog appears.
- Select Reassign in the Cannot delete resource dialog.
- Start typing the name of the user you want to assign as primary contact and select them from the Primary contact dropdown menu

OR select Reassign to me to make yourself the new primary contact.
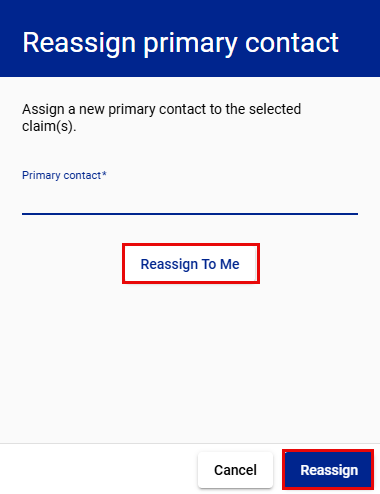
- Select Reassign. The primary contact role will be reassigned and the Delete resource dialog will open.

- Confirm you want to delete the resource by selecting Delete.