Team member: ClaimXperience projects
Overview
Project creation basic information
If you create a ClaimXperience project, you are automatically assigned as the primary contact and can invite a policyholder to participate in the project. You can invite the policyholder at the time you create the project, but you should only do so if you want them to immediately create an account and have access to their claim. You should not invite a policyholder to join a project if you only intend to perform a video collaboration live call.
Create a project in ClaimXperience
- Log in to ClaimXperience.
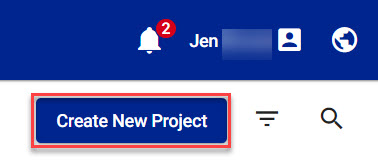
- Select Create a new project in the header below your name.
- Enter the project information in the Create a new project drawer. Required information is marked with an asterisk (*).
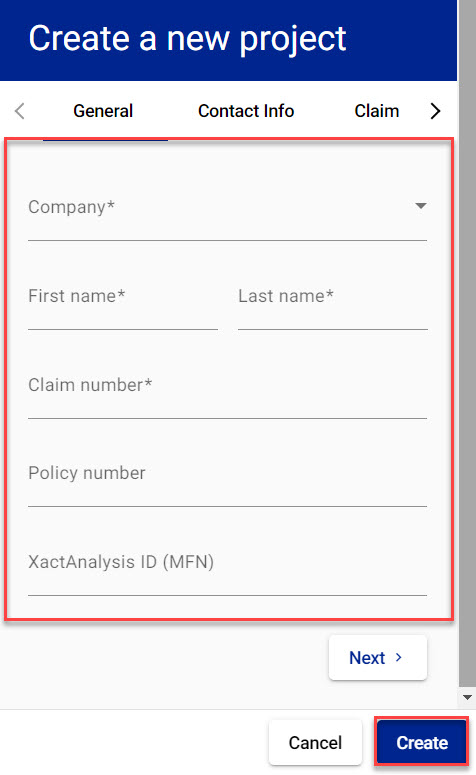
- Select Create.
Create a ClaimXperience project from XactAnalysis
- Log in to XactAnalysis. If you have more than one account, you will need to select the account you're going to use.
- Open the assignment you want to create a ClaimXperience project for.
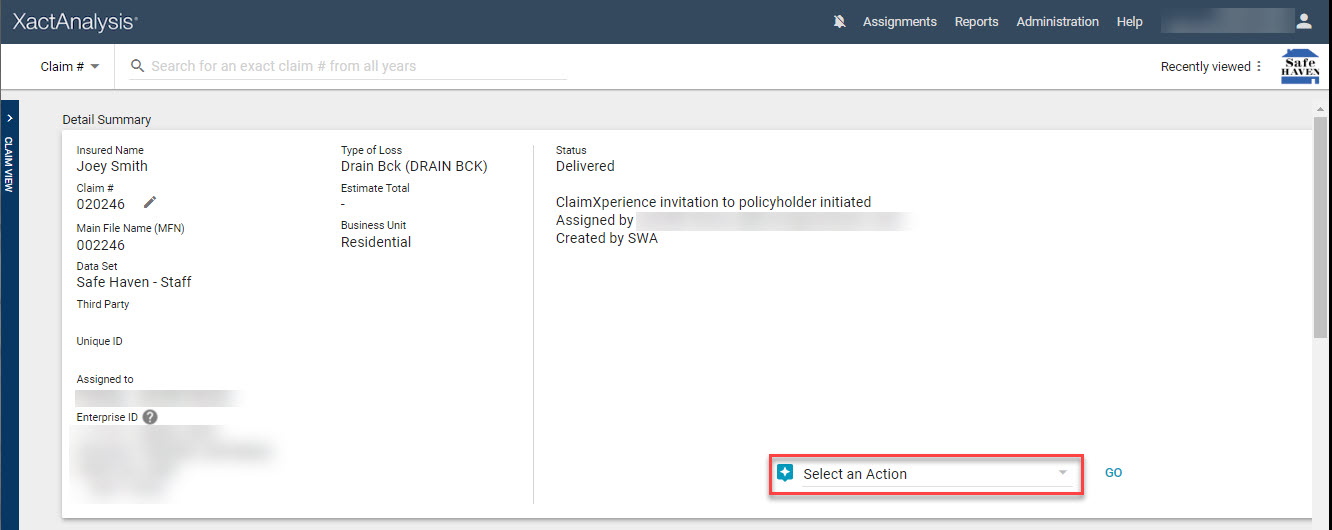
- Open the Select an action menu.
- Select Open ClaimXperience.
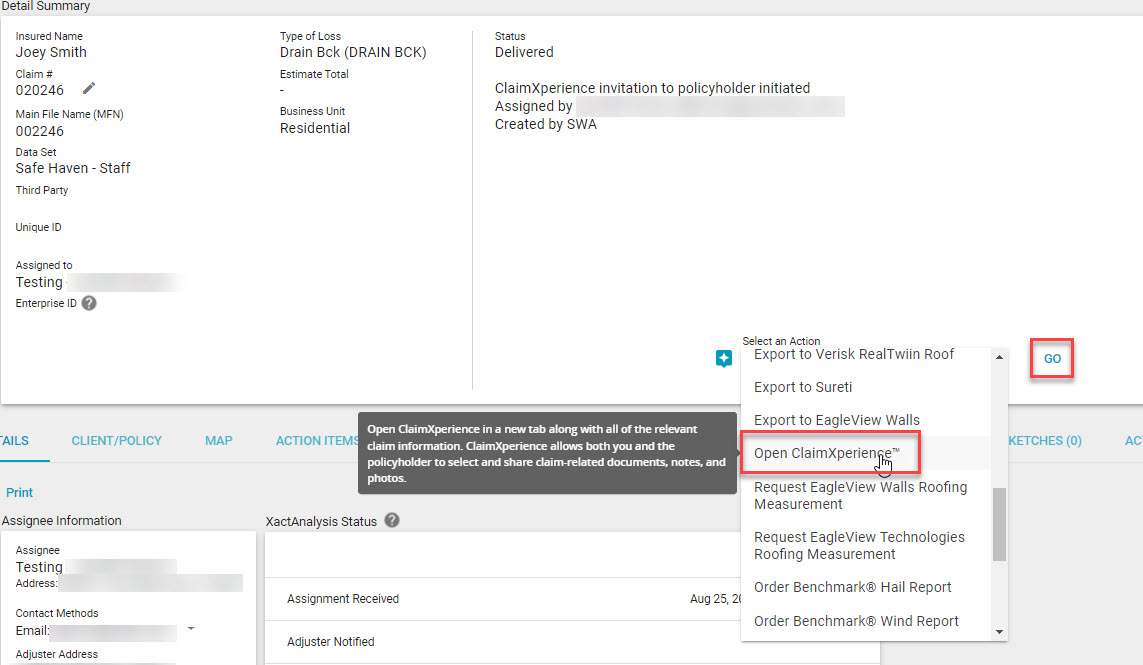
- Click Go.
- Confirm the project information in the ClaimXperience Create a new project drawer.
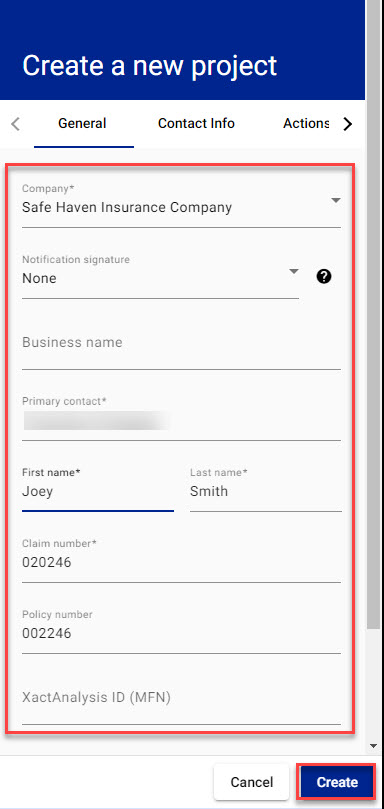
- Select Create.
Create a ClaimXperience project from Xactimate
- Log in to Xactimate. You will need to select an instance if you are a team member on more than one instance.
- Open your project.
- Select Tools from the left-side navigation menu.

- Select Video Collaboration.
- Confirm the project information in the ClaimXperience Create a new project drawer.

- Select Create.
Create a ClaimXperience project from ContentsTrack
- Log in to ContentsTrack.
- Open your job.
- Select Inventory from the side navigation menu.
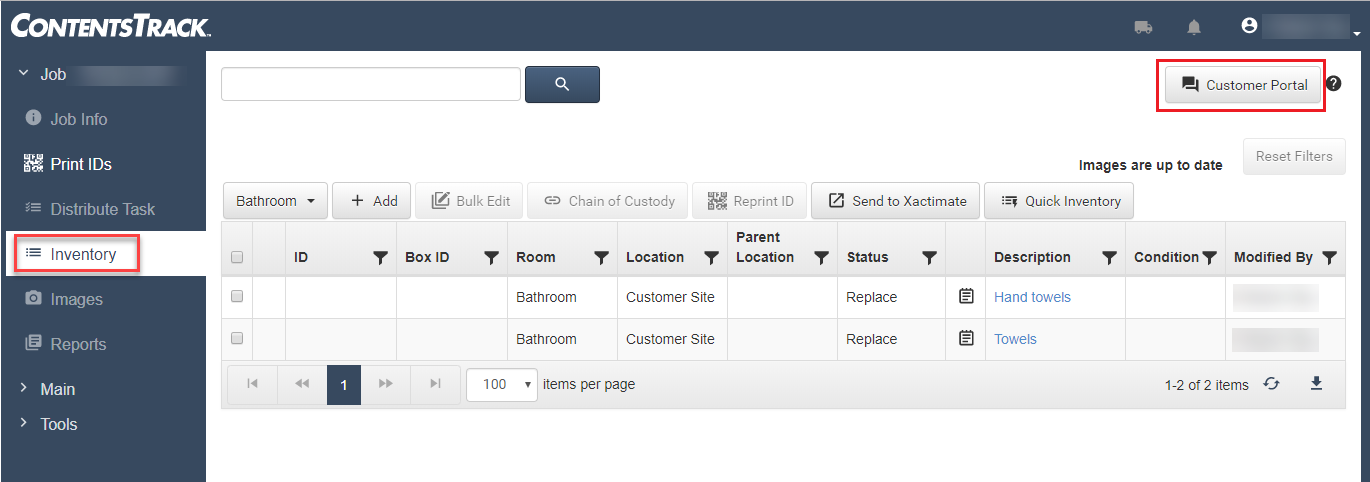
- Click Customer Portal under your name at the top-right side of the screen.
- Confirm the project information displayed in the ClaimXperience Create a new project drawer.

- Select Create.
Change the status of a project
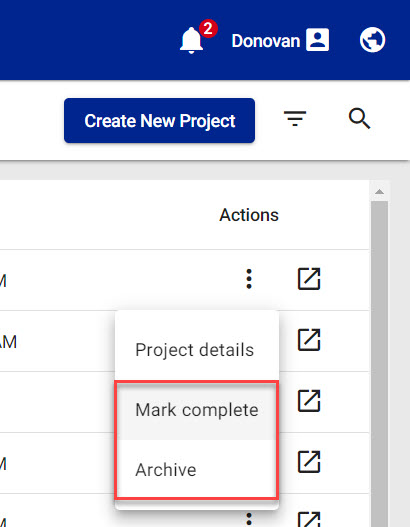
For compliance reasons, projects cannot be canceled or deleted. However, you can mark the status of a project "Complete" or "Archived." Both options remove the project from the default Claims Library view.
Changing the status of a project allows you to use your Claims Library filter to display only those projects with a specific status, reducing the number of projects displayed and making it easier to find the project you need.
Changing the status of a project in ClaimXperience does not affect the XactAnalysis status, even if the project is linked to an assignment. Also, changing the status does not affect the ability of any team member or participant of that project to add new content to that project.
Option 1
- Locate the project in your Claims Library.
- Open actions menu by selecting the vertical ellipsis on the project line.
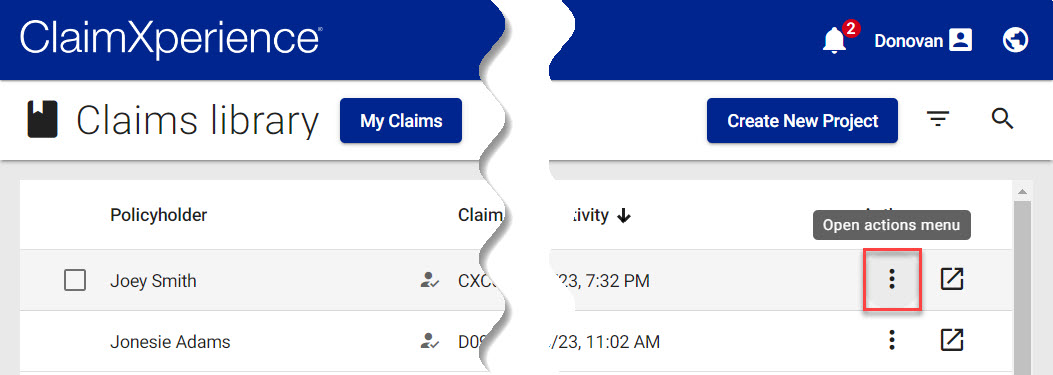
- Select the status of the project.
Option 2
- Locate the project in your Claims Library.
- Open actions menu by selecting the vertical ellipsis on the project line.

- Select Project Details.
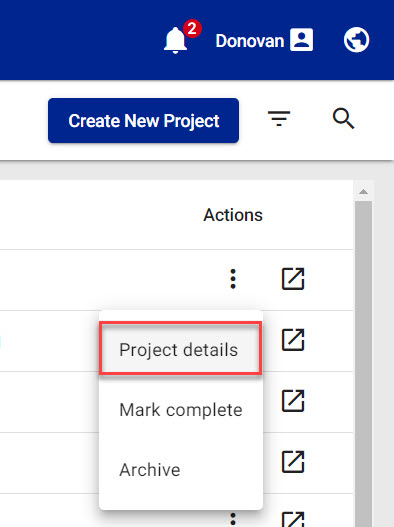
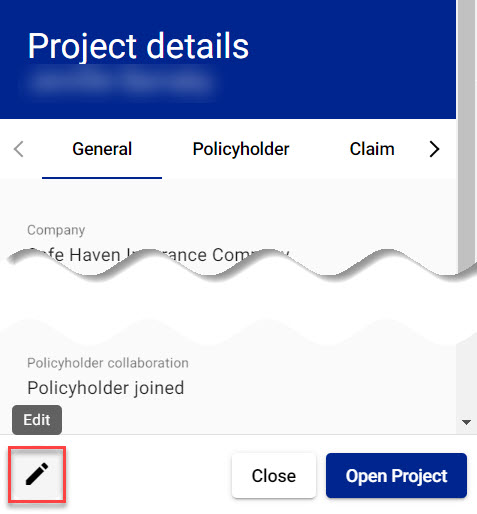
- In the Project details drawer, select the Edit icon.
- Select the status from the Status drop-down menu.
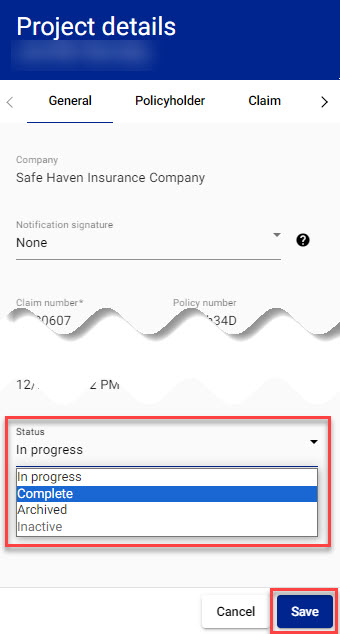
- Click Save.
Option 3
- While in your Claims Library, select the checkboxes for the projects you are changing the status of.
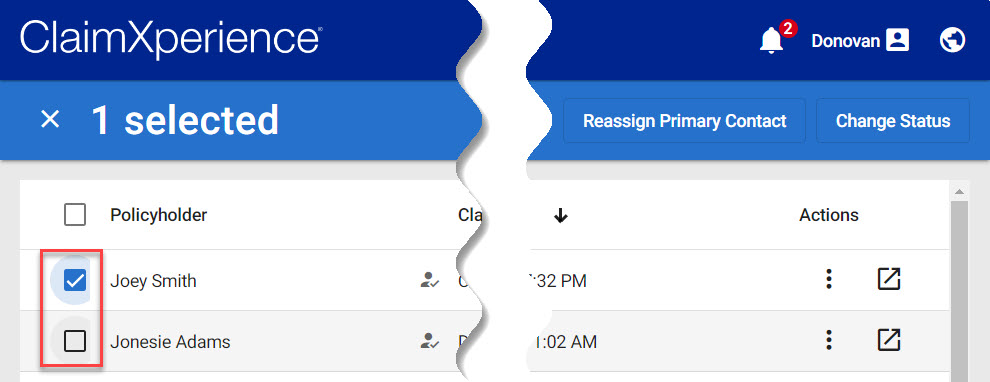
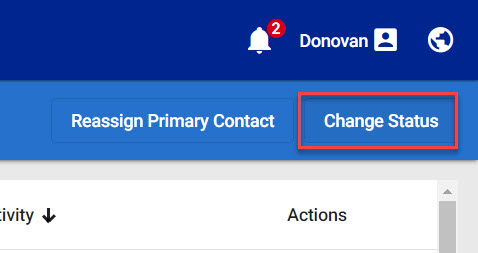
- Select Change status under your name at the top of your screen.
- Select the status.
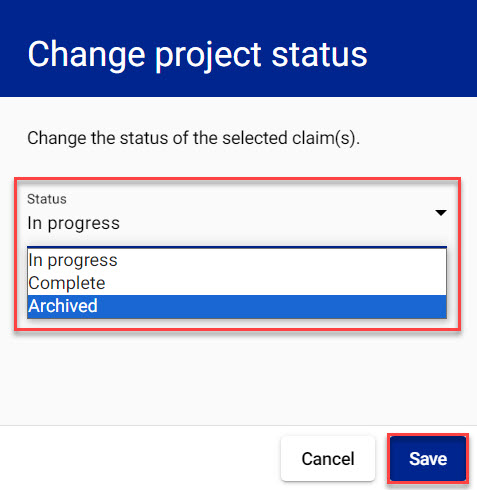
- Click Save.