Add items to an inventory
 Updated
.
Updated
.
Add items one at a time
- Click Personal property in your Tasks menu.
- Click Replace.
- Click Add item.
- Enter the replacement item details.
- Click Add.
Add inventory items using media currently in the project
- Click Files in your General Collaboration menu.
- Click on the image of the item you want to add to the inventory.
- Click Edit image
 .
. - Switch Add to personal property to on.
- Enter a description of the item.
- Enter the item information.
- Click Save.
Add items using a spreadsheet template
- Click Personal property in your Tasks menu.
- Click the vertical ellipsis
 below your name.
 - Select Import inventory.
- Click Download import template.
- Enter inventory items and requested information.
- Save the completed for to your computer.
- Return to the Import Inventory drawer.
- Upload the completed inventory template using the Drop files here or click to browse field.
 .
. - Click Import.
Add items from outside of ClaimXperience
- Click the link in the notification.
- Read and accept the Important Information.
- Click Add replacement item.
- Enter the item information.
- Click Add.
- After all inventory items have been added, click Submit.
Quick inventory
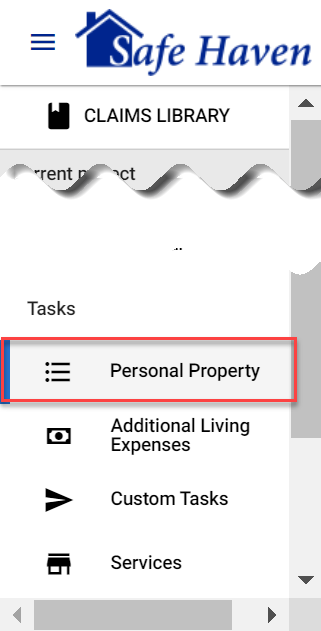
- Select Personal Property from your left-side navigation menu.
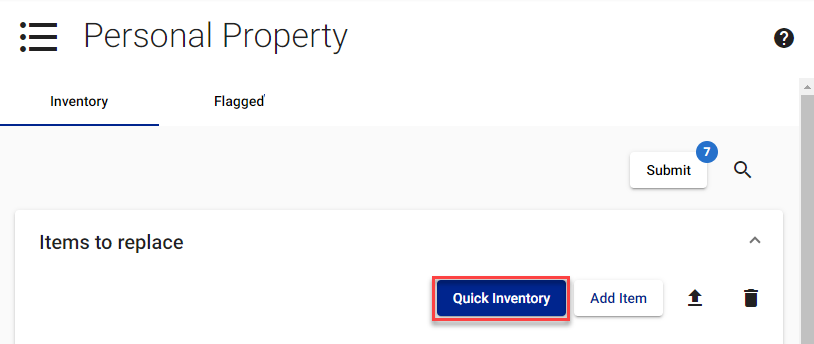
- Select the Quick Inventory button at the top of the Items to replace card.
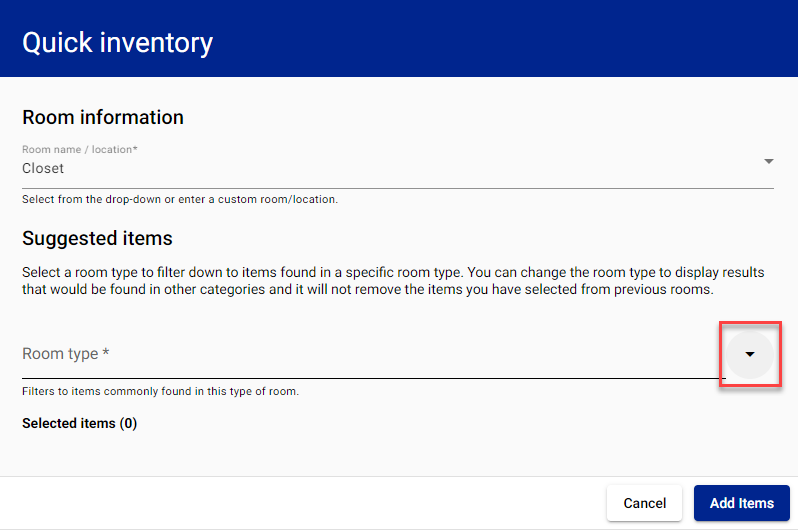
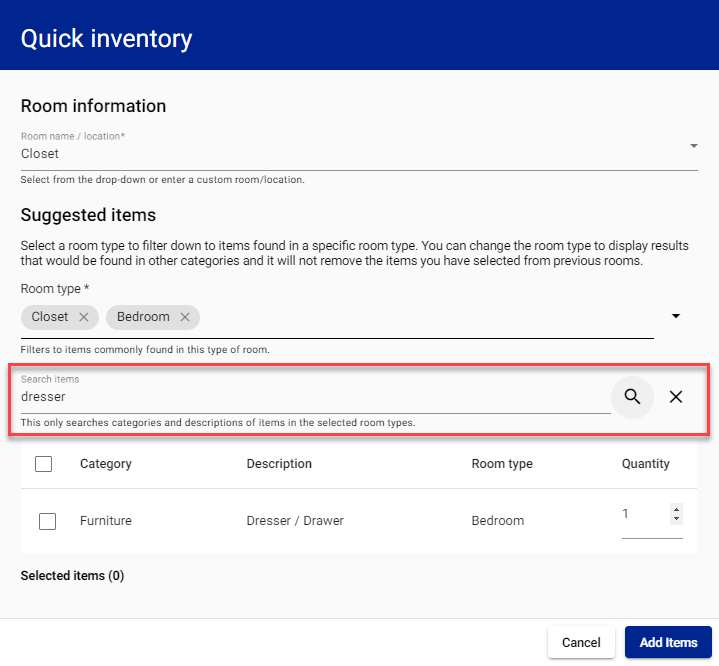
- Enter the room name or location or click the down-pointing arrow to open the dropdown menu of room names and locations.

- Open the list of commonly identified rooms by clicking the down-pointing arrow.
- Select the checkbox for the type of room you want to filter by.
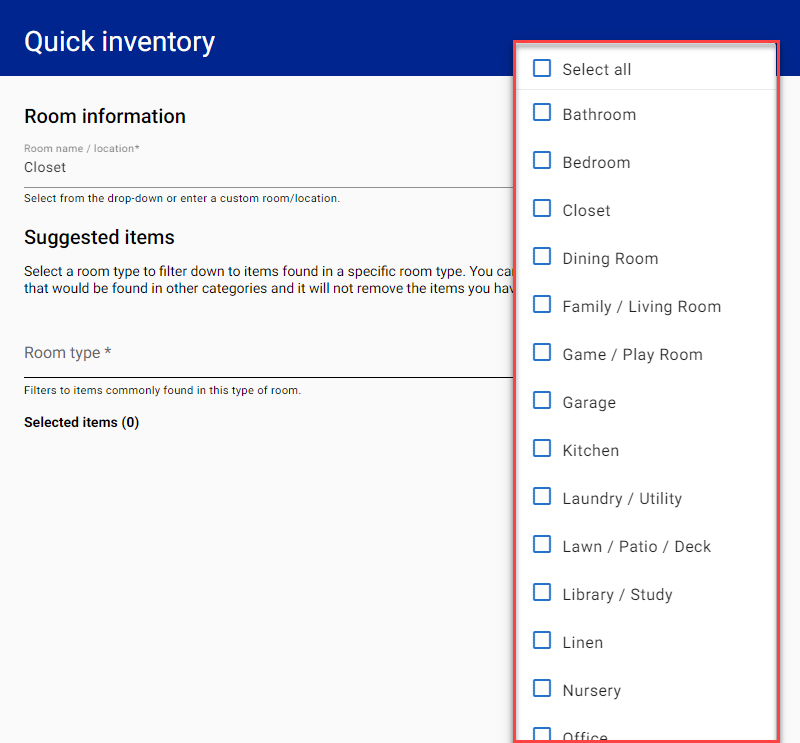
- Exit the menu by clicking outside of the list.
- Either enter a keyword in the search items field and select the Search magnifying glass icon
 or scroll through the items listed.
- Change the quantity if you need to add more than one of that item to your inventory.
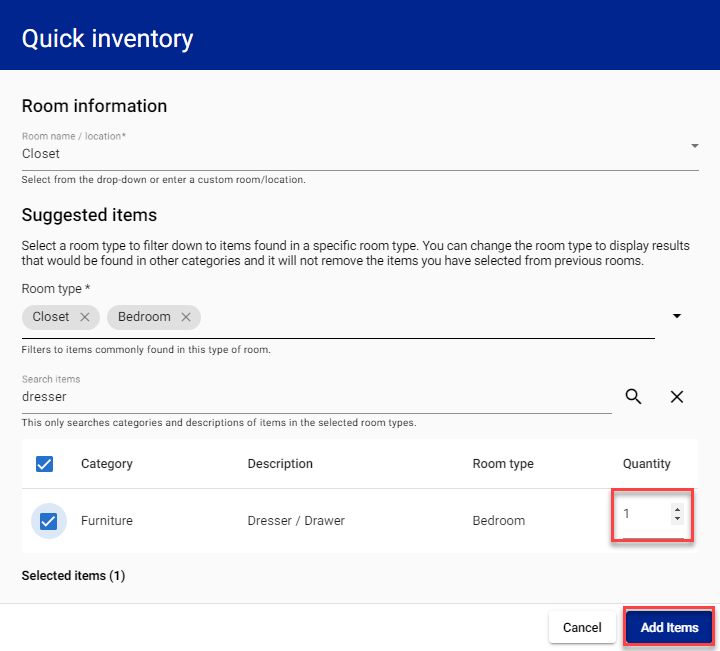
- Select Add item at the bottom of the Quick inventory drawer. This closes the drawer and adds the items to the Items to replace card.
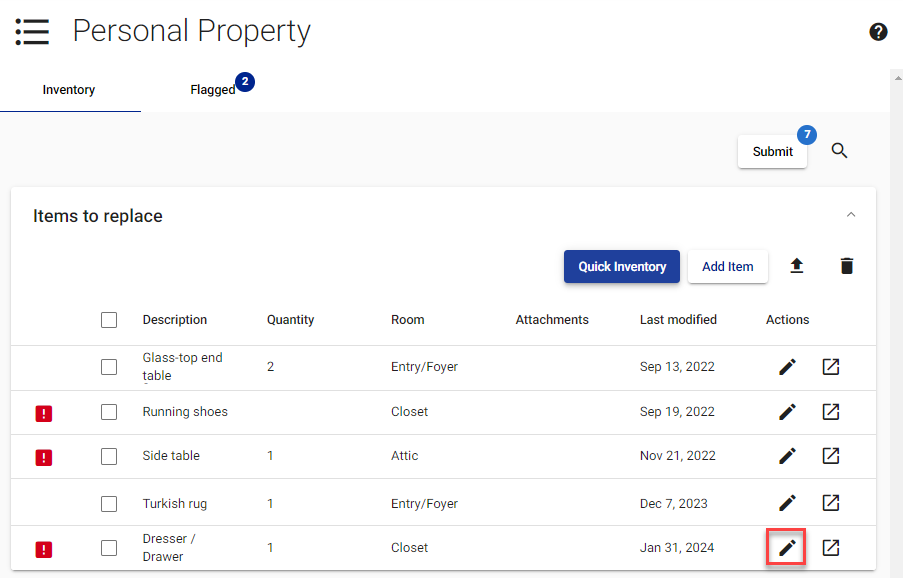
You will need to add required information to items added using Quick Inventory before you can submit them. There will be an alert on the lines of items requiring additional information.
- Select the Edit pencil icon
 on the line of the item you need to add information to.
- In the Edit item drawer, add or edit information in the fields marked with an asterisk (*).
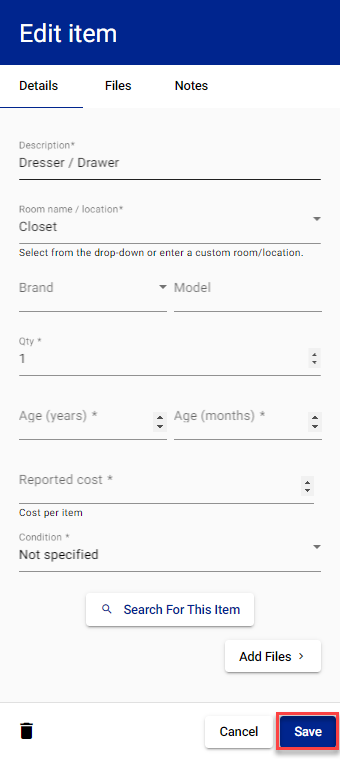
- Select Save.