Policyholder: Shared calendar
Located on your ClaimXperience dashboard, the shared calendar displays a list of upcoming events. Your shared calendar syncs with those of other claim participants so that everyone involved in the project is aware of the events taking place. Claim participants can add, edit, and delete events, as well as decide who is notified of any changes.
Open shared calendar
You can open your shared calendar in one of two ways:
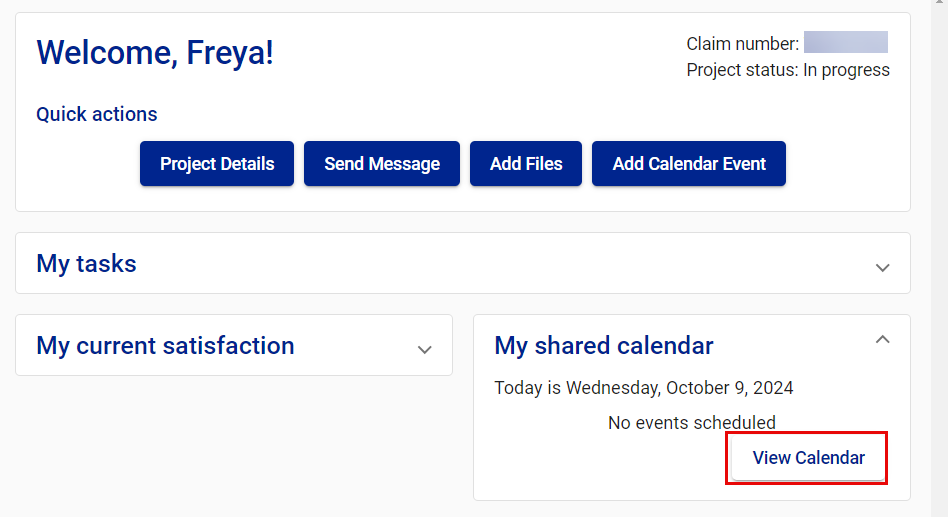
- Select the View Calendar button in the My shared calendar card on your dashboard.
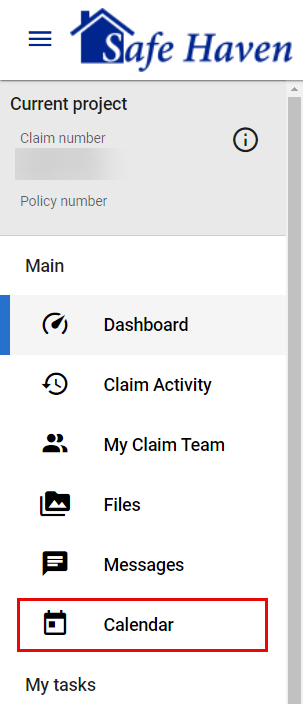
- Or select Calendar from your side navigation menu.
See event details
Option 1
- Select View calendar in the My Shared Calendar card on your dashboard.

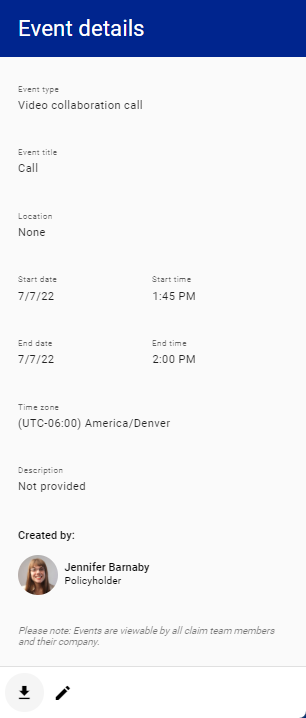
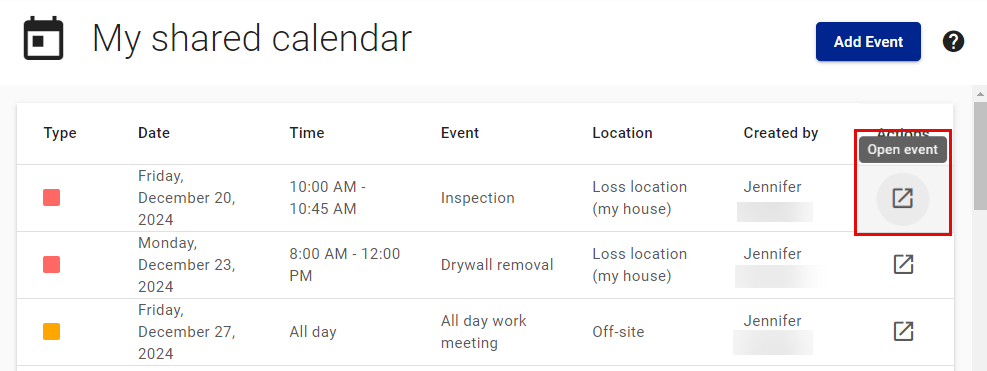
- Select the event on the My shared calendar page, or select the open event icon for the event. This opens the Event details drawer.
Option 2
- Select Calendar from your side navigation menu.

- Select the event on the My shared calendar page. This opens the Event details drawer.
Add an event
Option 1
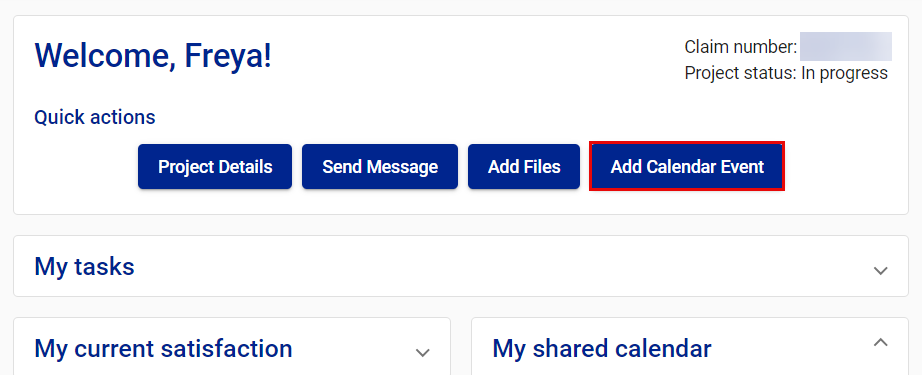
- Select the Add Calendar Event button at the top of your dashboard to open the Add calendar event drawer.
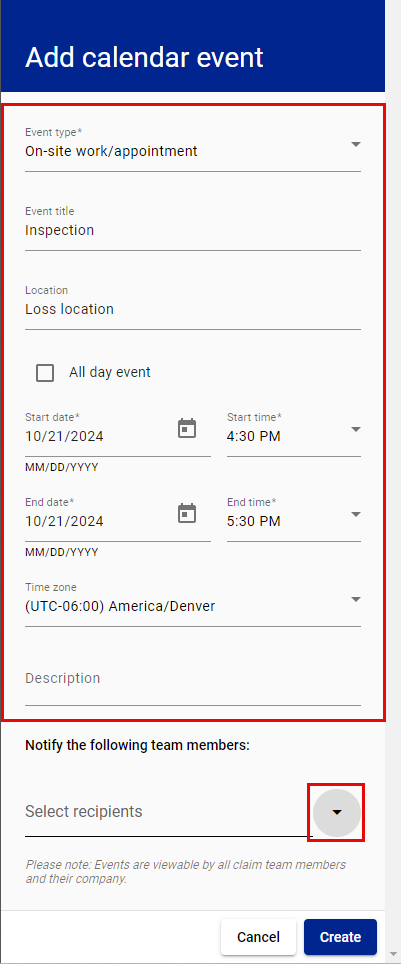
- Enter the event information.
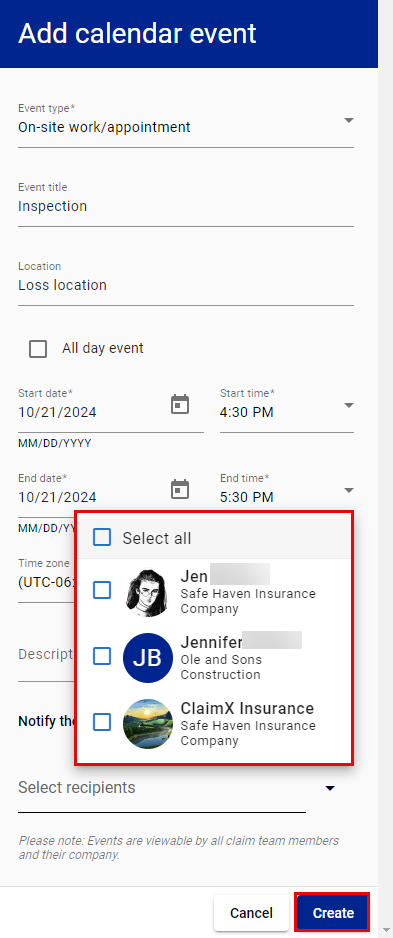
- Select the arrow to expand the Select recipients menu.
- Select the team members you want to notify of the event.
- Select Create.
Option 2
- Select the View Calendar button in your My shared calendar card.

- Select Add Event. This opens the Add calendar event drawer.
- Enter the event information.

- Select the arrow to expand the Select recipients menu.
- Select the team members you want to notify of the event.

- Select Create.
Option 3
- Select Calendar from your side navigation menu.

- Select Add Event. This opens the Add calendar event drawer.

- Enter the event information.

- Select the arrow to expand the Select recipients menu.
- Select the team members you want to notify of the event.

- Select Create.
Edit events
Option 1
- Select the View calendar in the My Shared Calendar card on your dashboard.

- Select the event you want to edit. This opens the Event details drawer.
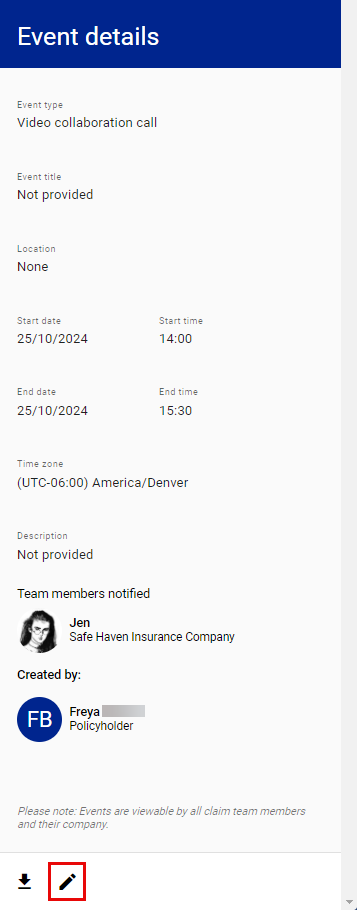
- Select the edit icon
 at the bottom of the drawer. This switches the drawer to the Edit calendar event drawer.
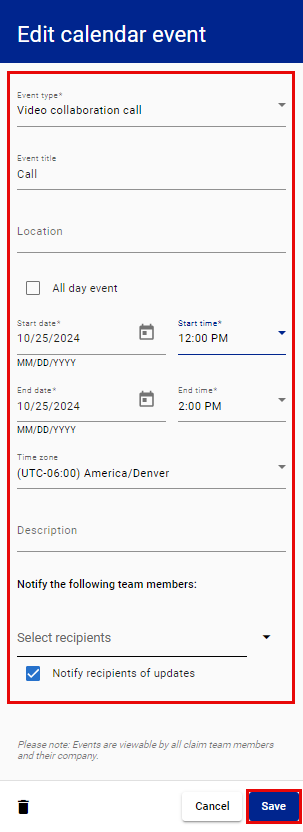
- Edit the event information.
- Select Save.
Option 2
- Select Calendar from your side navigation menu.

- Select the event you want to edit. This opens the Event details drawer.

- Select the edit icon
 at the bottom of the drawer. This switches the drawer to the Edit calendar event drawer.

- Edit the event information.
- Select Save.
Delete events
Option 1
- Select the View Calendar button in the My shared calendar card on your dashboard.

- Select the event on the My shared calendar page. This opens the Event details drawer.

- Select the edit icon
 at the bottom of the drawer. This switches the drawer to the Edit calendar event drawer.
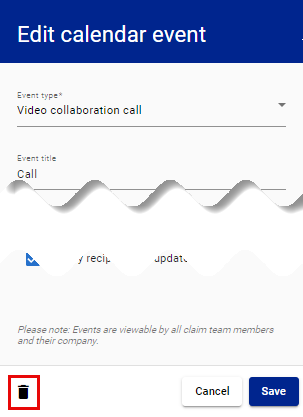
- Select the delete icon.
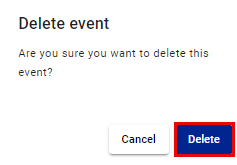
- Select Delete in the Delete Event confirmation dialog.
Option 2
- Select Calendar from your side navigation menu.

- Select the event. This opens the Event details drawer.

- Select the edit icon
 at the bottom of the drawer. This switches the drawer to the Edit calendar event drawer.
 - Select the delete icon.

- Select Delete in the Delete Event confirmation dialog box.

Add a shared calendar event to an Outlook calendar
Option 1
- Select the View Calendar button in the My shared calendar card on your dashboard.

- Select the event on the My shared calendar page. This opens the Event details drawer.
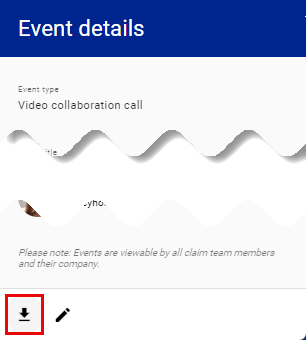
- Select the download icon at the bottom of the drawer.
- Open the downloaded .ics file.

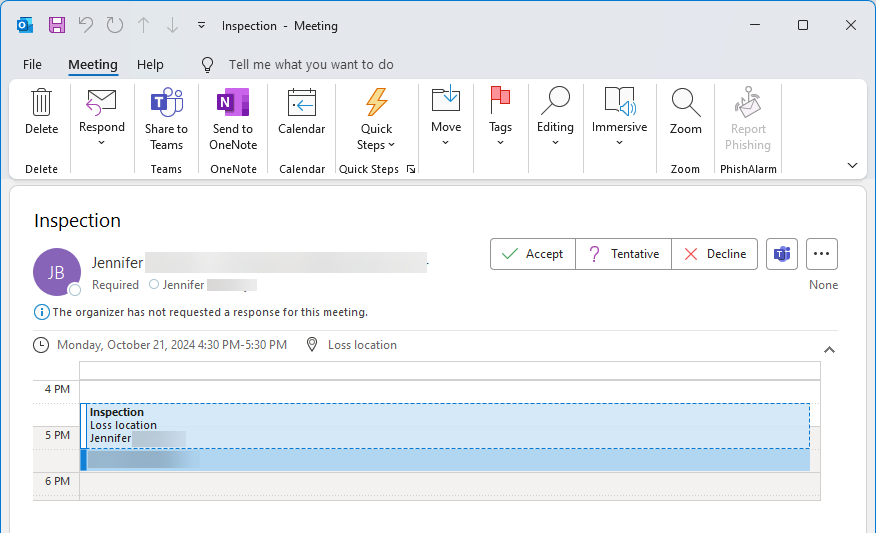
- Select Accept to save the event to your Outlook calendar.

Option 2
- Select Calendar from your side navigation menu.

- Select the event on the My shared calendar page. This opens the Event details drawer.

- Select the download icon at the bottom of the drawer.
- Open the downloaded .ics file.

- Select Accept to save the event to your Outlook calendar.
