Policyholder: Add, submit, and delete contents items
 Updated
by
Jennifer B.
Updated
by
Jennifer B.
Add items to a contents inventory
If you can’t find the specific replacement item in your search results, you can select the closest matching item—called a general quote item— in its place. For example, if you can't find your specific 55" TV, you could select TV-LCD / LED-LCD 55-60".
Add items one at a time
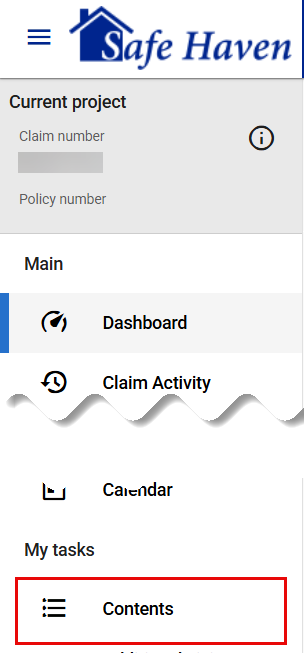
- Select Contents from your side navigation menu.

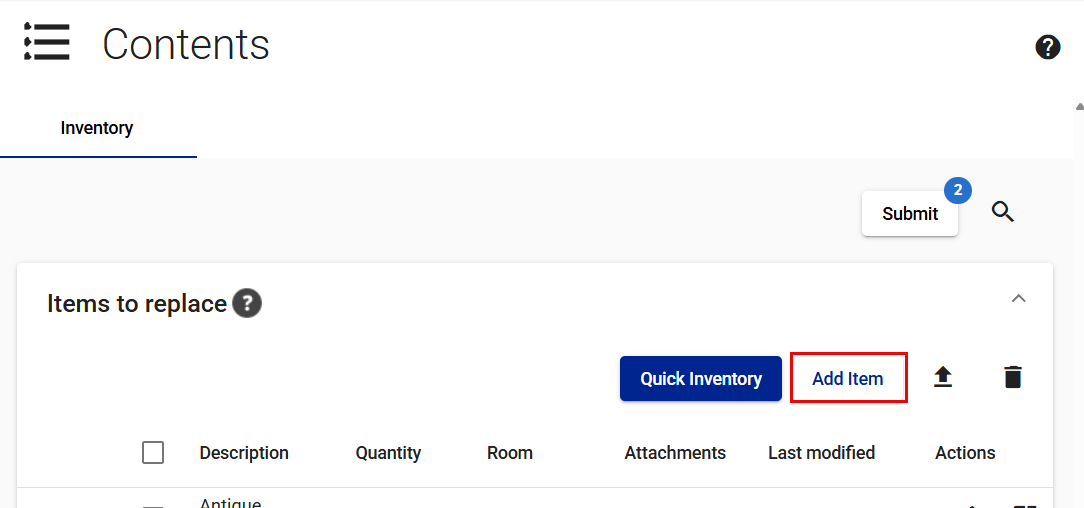
- Click Add item.

- Enter the item details.
- Select search for item.
- Click OK in the Selecting an item confirmation dialogue.
- Review the items in the Retail tab.
- If you find the item
- Click Select.
- If you don't find the item
- Click General.
- Click Cannot find item.
- Click Add.
- If you find the item
Add several items at once
- Select Contents from your side navigation menu.

- Click the import inventory icon. This opens the Import inventory drawer.
- Click Download Import Template. This downloads an Excel spreadsheet template.
- Enter your inventory items and information.
- Save the template to your computer.
- Return to the Import inventory drawer.
- Add the completed inventory spreadsheet using the Drop files here or click to browse button.

- Select Import. The items display in your Items to replace card.
Attach a file to an inventory
Users with access to a contents inventory can attach files to a new or existing inventory item.
When adding inventory items
- Select Contents from your side navigation menu.
- Click Add item.
- Add item information.
- Click the Files tab.
- Attach files using the Drop files here or click to browse button.

- Click Add.
When adding to existing inventory items
- Select Contents from your side navigation menu.

- Select the item to which you want to add a file. This opens the View item drawer.
- Click Files.
- Click Edit
 at the bottom of the drawer. This changes the View item drawer to the Edit item drawer.
 - Attach files using the Drop files here or click to browse button.
- Click Save.
Submit changes to an inventory
Submitting after every change may significantly increase the amount of time it takes you to enter or edit your inventory items, so consider submitting changes only after you have made several changes.
Submitted items cannot be edited.
When all inventory items have required information entered
- Select Submit above the Items to replace card.
- Confirm you want to submit the items. Items that have been submitted appear in the Submitted inventory card.
When at least one item is missing required information
- Select Submit above the Items to replace card.
- If you want to submit only those items with all required information entered
- Select Proceed in the Required information missing dialogue.
- Confirm you want to submit the items.
- If you want to update items with missing information before submitting
- Select Cancel in the Required information missing dialog.
- Follow the instructions for editing an inventory item. (Policyholder: Find, filter, and edit inventory items)
Delete inventory items
You can only delete files in the Items to replace card.
Option 1
- Select Contents from your side navigation menu.

- Select View item
 for the item you want to delete. This opens the View item drawer.
- Select Edit
 at the bottom of the View item drawer. This changes the drawer to the Edit item drawer.
- Select Delete
 at the bottom of the Edit item drawer.
- Confirm you want to delete the item.
Option 2
- Select Contents from your side navigation menu.

- Click Edit item
 for the item you want to remove. This opens the Edit item drawer.
- Click Delete item
 at the bottom of the Edit item drawer.
- Confirm you want to delete the item.